In this Time Mostly Guys have Garmin Device, but all them Don’t know that How to Use Garmin Device and how to install map in Garmin Device. Then Don’t Worry Because In this blog you will get tips for Install Maps On A Garmin GPS Device Correctly.

Follow the mentioned steps to install Maps on your Garmin GPS device:
- Firstly, you should connect the device to your computer.
If you would like more information on connecting your device then you can choose to check the owner’s manual for your device
You will see the name of your device appears in the ‘Library and Devices’ area.
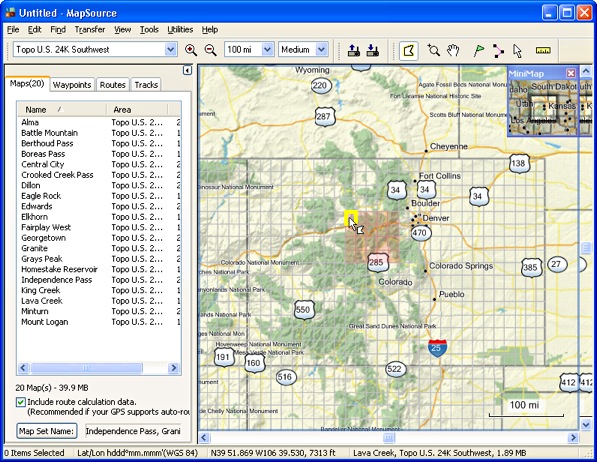
- And then you got to give a right click on the ‘Internal Storage’ folder right under the device name.
- After doing so, you will have to select the ‘Install Maps’ option.
- Next, you would need to follow the given on-screen instructions accordingly.
And if you want to download maps with the Garmin Explore App then you can follow these steps;
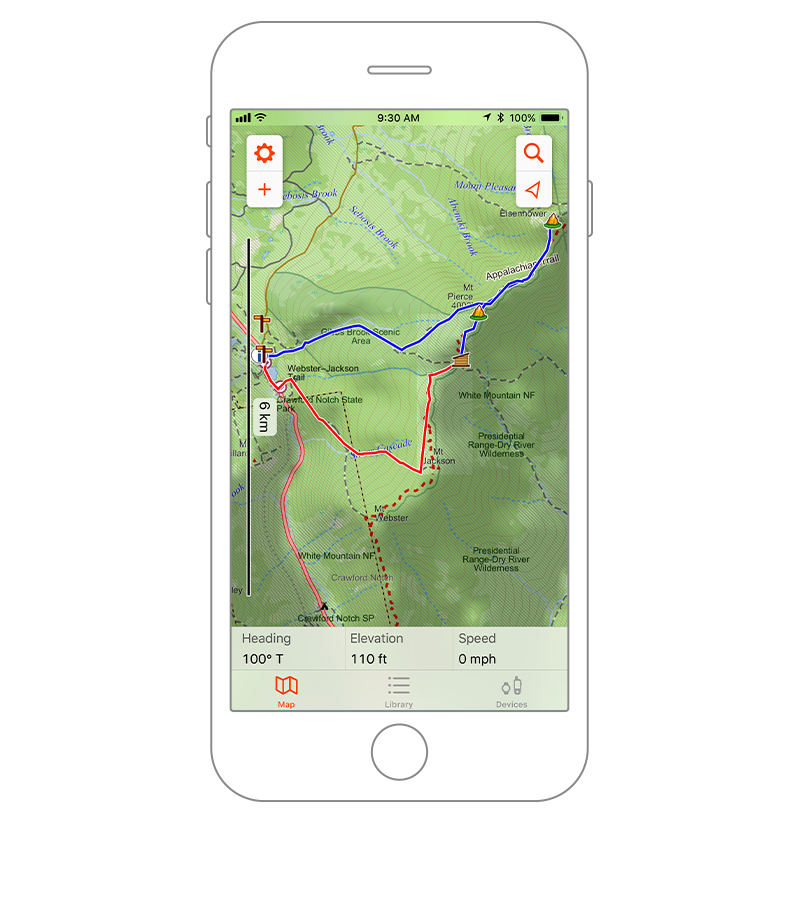
- You need to start by opening the Garmin Explore app.
- Next, you would have to select the ‘Map icon’ that is at the bottom of the app.
- After that, you got to select the ‘Map Layers Icon’ at the top left of the app.
- You will now have to select the ‘Maps’ option.
- And then you should select the ‘Download Maps’ button.
- Now the next screen might initially show only two or three map download choices based on the current view.
You just need to select the ‘Show more map types’ option at the bottom to list the rest of the map download options.
- At last, you will need to select the ‘Two Orange Down Arrows’ to the right of the map to be downloaded, or you could select the map name for a list of regions.
NOTE: You should tap on the ‘?’ (The question icon) that is in the top right for descriptions of the map options.